Job Executor
![]() PLEASE NOTE: This documentation applies to an earlier version. For the most recent documentation, visit the Pentaho Enterprise Edition documentation site.
PLEASE NOTE: This documentation applies to an earlier version. For the most recent documentation, visit the Pentaho Enterprise Edition documentation site.
The job executor allows you to execute a Pentaho Data Integration job.
By default the specified job will be executed once for each input row. This row can be used to set parameters and variables and it is passed to the job in the form of a result row.
You can also allow a group of records to be passed based on the value in a field (when the value changes the job is executed) or on time. In these cases, the first row of the group or rows is used to set parameters or variables in the job.
It is possible to launch multiple copies of this step to facilitate parallel job processing.
Note: This step does not abort when the calling job errors out. To control the flow or abort of the transformation in case of errors, please specify the fields and a target step in the tab "Execution results" to get the number of errors. (fixed by PDI-11211).
Since: PDI version 4.4.0-M1, September 9th 2011, PDI-6702
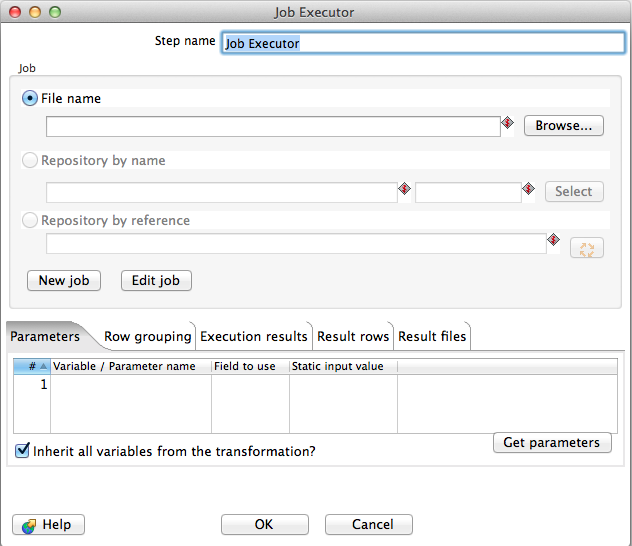
Job location specification
At the top of the step dialog you can specify the job to be executed.
- File name: use this option to specify a job stored in a file (.kjb file)
- Repository by name: specify a job in the repository by name and folder.
- Repository by reference: Specify a job in the repository. A reference to the job will be stored making it possible to move the job to another location (or to rename it) without losing track of it.
- New job button creates a new Kettle Job, changes to that job tab and sets the File name accordingly
- Edit job button opens the job specified for editing
Parameters
In this tab you can specify which field to use to set a certain parameter or variable value. If you specify an input field to use, the static input value is not used. If multiple rows are passed to the job, the first row is taken to set the parameters or variables.
There is a button in the lower right corner of the tab that will insert all the defined parameters of the specified job. For information the description of the parameter is inserted into the static input value field.
If you enable the "Inherit all variables from the transformation" option, all the variables defined in the parent transformation are passed to the job.
Row grouping
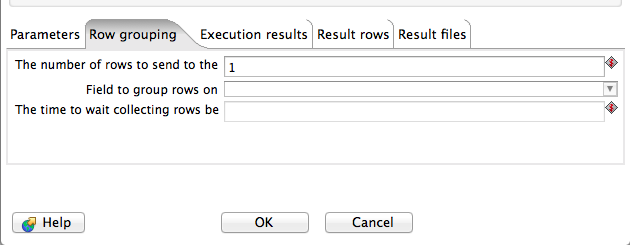
On this tab you can specify the amount of input rows that are passed to the job in the form of result rows. You can use the result rows in a Job or Transformation job entry to loop over or you can get the records themselves in a Get rows from result step in a transformation.
- The number of rows to send to the job: after every X rows the job will be executed and these X rows will be passed to the job.
- Field to group rows on: Rows will be accumulated in a group as long as the field value stays the same. If the value changes the job will be executed and the accumulated rows will be passed to the job.
- The time to wait collecting rows before execution: This is time the step will spend accumulating rows prior to the execution of the job.
Please note that you can only specify one method of grouping.
Execution results
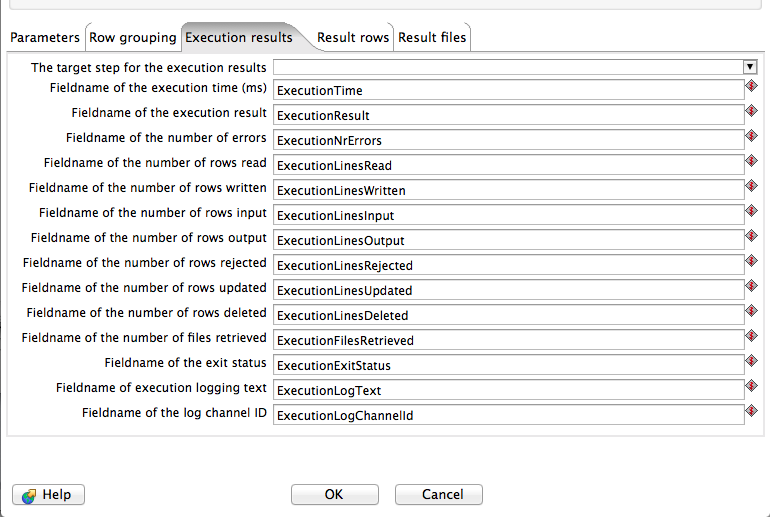
You can specify result fields and to which step to send them. If you don't need a certain result simply leave a blank input field.
Result rows
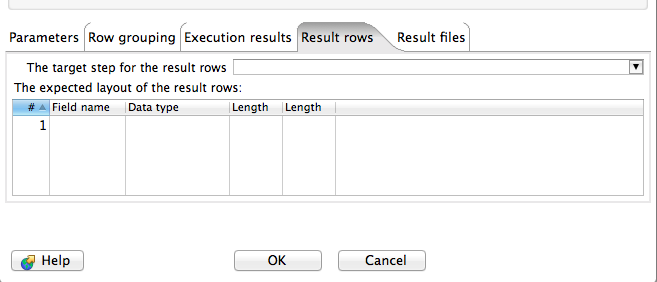
In the "Result rows" tab you can specify the layout of the expected result rows of this job and to which step to send them after execution.
Please note that this step will verify that the data type of the result row fields are identical to what is specified. If there is a difference an error will be thrown.
Result files
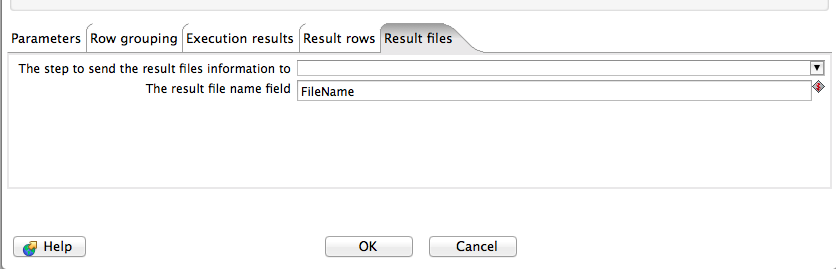
Here you can specify where to send the result files from the job execution.
Example
The sample shown in the screen shot below can be found in folder "samples/transformations/job-executor/" of your Pentaho Data Integration download package.
Transformation "test-trans.ktr" passes 3 rows ("one", "two", "three") to a job that is then executed 3 times. It sets a parameter to 3 different values. All the job does is display a message box with the value and set a few result files.
You can then preview the 3 steps on the far right to see the output.
![]()